Voyager has a Westerbeke 30, which is a marinized version of British Leyland's 4-91 engine. This is the beast that powers London's taxicabs.
In November, 2001 we attempted to sail to Newport, RI to visit Marybeth, my amazing and utterly compelling girlfriend, but were foiled by engine problems at the mouth of the Delaware Bay. An awful banging in the engine heralded troubles; turns out she (the engine, not Marybeth) was low on oil due to a blown gasket. Filling the sump eliminated the problem but we elected to head back to Baltimore. Prudence is the better part of valor. But clearly the old engine needed some TLC.
Voyager is a 1977 Allied Seawind Mark II ketch. The engine has 2800 hours on it, 1800 more than when I bought the boat 4 years ago. That's a lot of hours to add in so short a time, but we've traveled a lot of miles. In 1999 we sailed from Baltimore to Antigua via Bermuda, thence through the Leewards and Virgins, back to Bermuda and home. In 2000 Voyager ran down the ICW to Charleston, offshore to the Bahamas for much cruising, and back offshore to Moorehead City, up the ICW and home. 2001 saw us back in Bermuda and thence to the Turks and Caicos, through those beautiful islands, and straight back. Since we're always on a schedule (kids!) when the wind dies, the engine takes over. In 2001, for example, there was no wind after leaving Bermuda so Voyager motored for 500 miles, 24 hours a day for 5 days, before picking up the Trades.
My policy is to do an oil and filter change every 100 hours. At that time I check and usually change both Racor fuel filters as well. At sea I shut down every 24 hours, check the oil, belts, etc, and change the oil and filters if at the 100 hour mark.
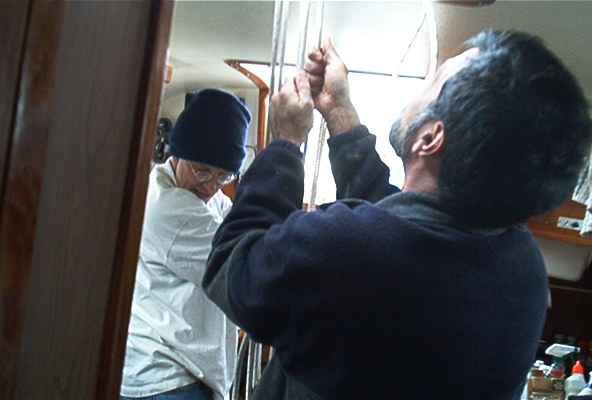
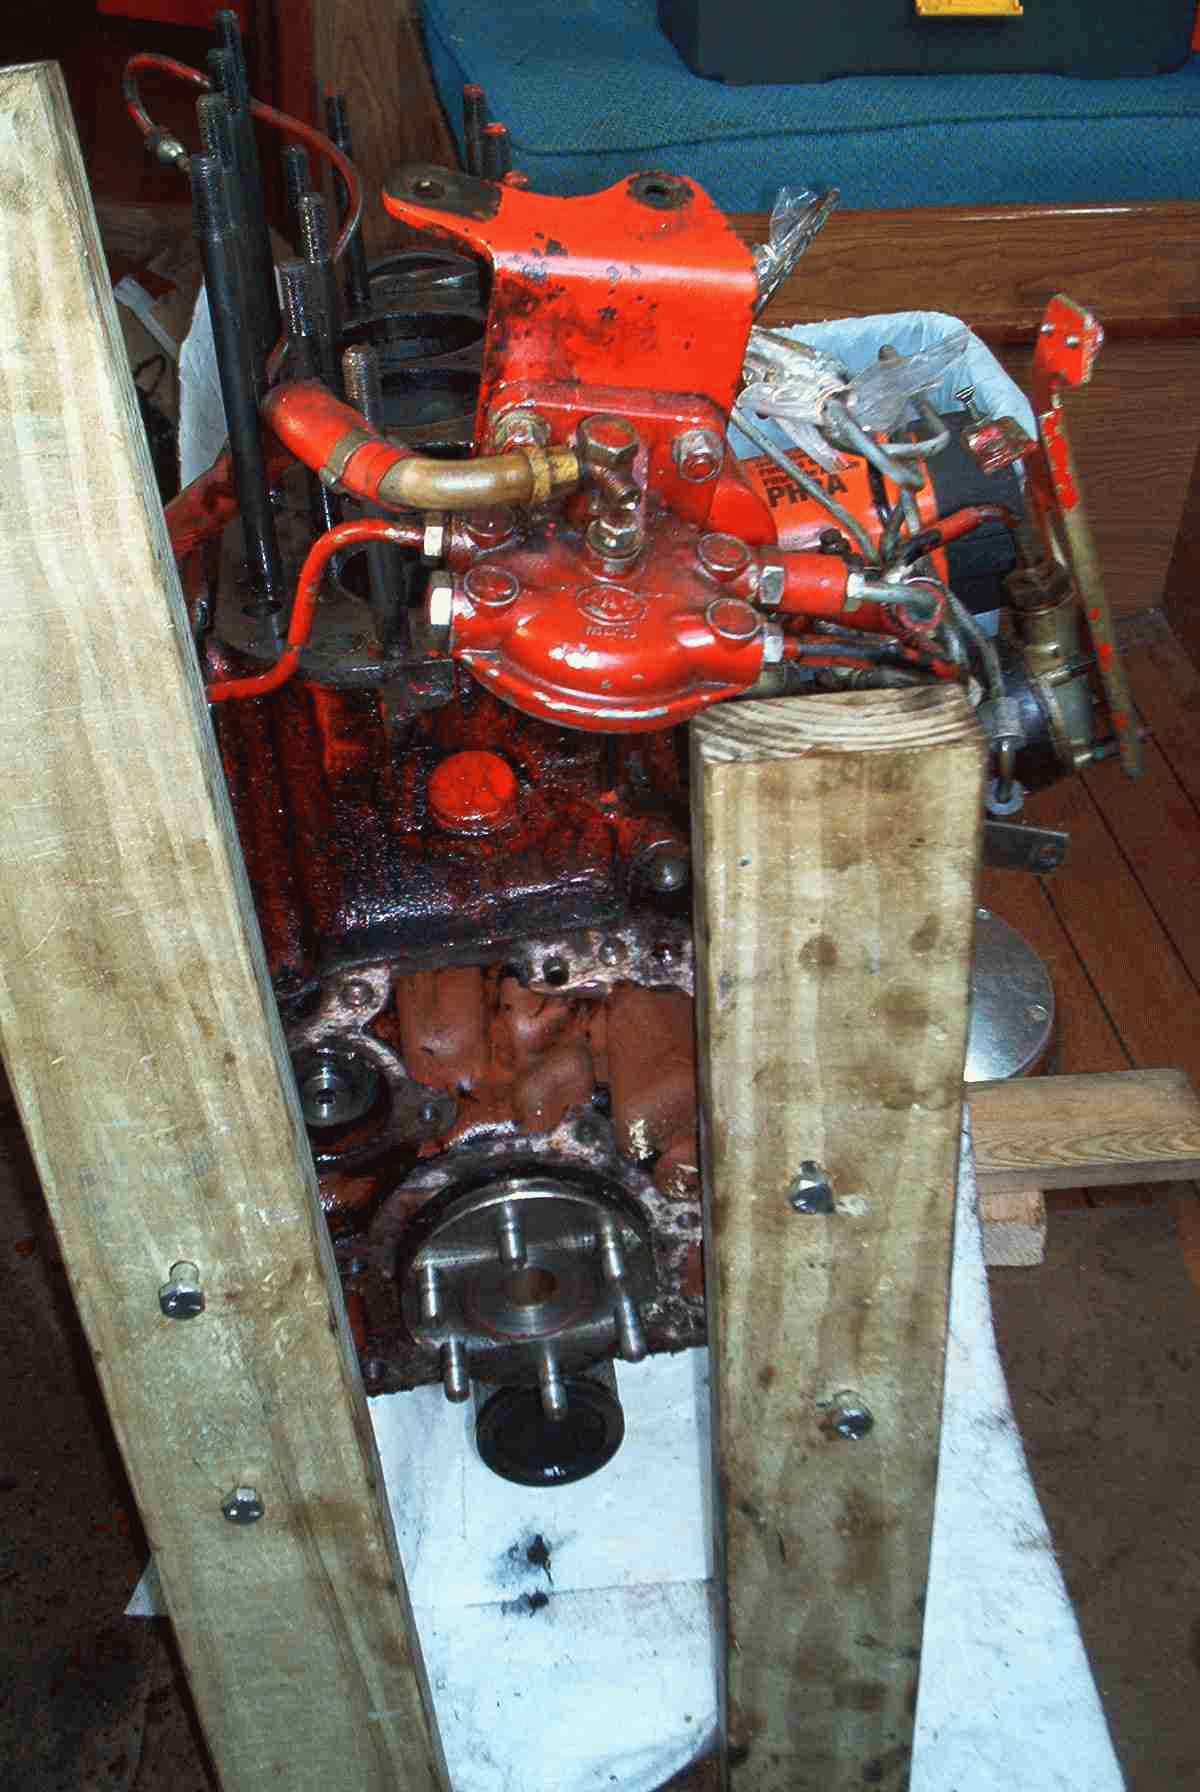
Scott and I pulled it in January 2002. The engine lives in an inaccessible location under the cockpit. We moved it off its mounts into the main cabin, a non-trivial task. I estimate the thing weighs 600 pounds.
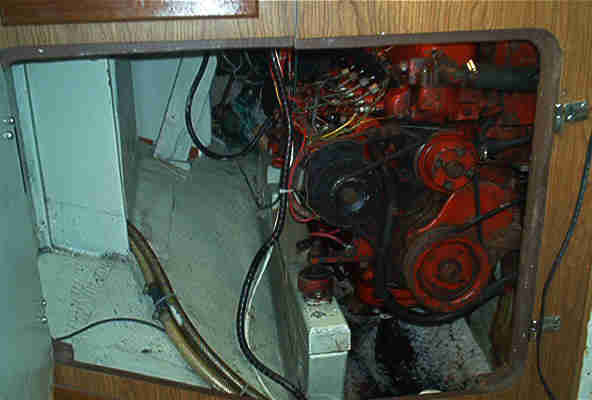
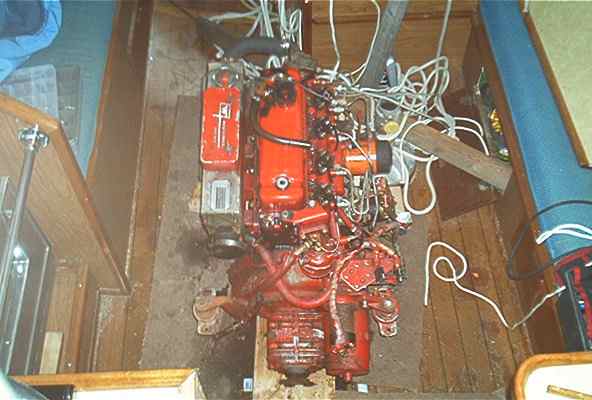
Engine in its normal location. You can just see the cut made in the bulkhead on the top middle of the picture.
First, I removed the panel under the sink adjacent to the ladder. Though this might not have been totally necessary, it cleared a lot of room for the engine removal. It also meant all of the under-sink plumbing (a LOT) had to come out. My plan is to reinstall this panel with quick-removal fasteners to facilitate access to the plumbing. There's hot and cold water hoses to the sink, a cold water line to the manual sink pump, and a 3 way valve (plus a demand pump) that feeds sea water to the sink's hot water faucet when at sea (having a pressure sea water line saves an awful lot of freshwater). The engine's sea water strainer lives down here as well.
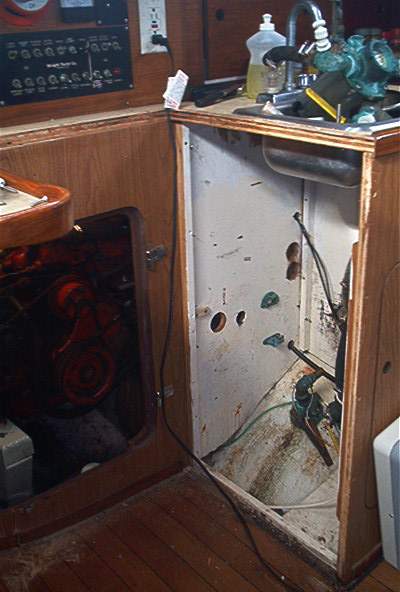
Panel under sink removed. All under-sink plumbing out as well.
Then the bulkhead between the engine room and the main cabin came out. Some Seawind owners cut out the entire panel; instead I made two small cuts about in the midships of the boat, on the upper and lower parts of the bulkhead, and unscrewed the rest of the thing.

Bulkhead coming out. Note two cuts on left side of the bulkhead, top and bottom, each only a few inches long.
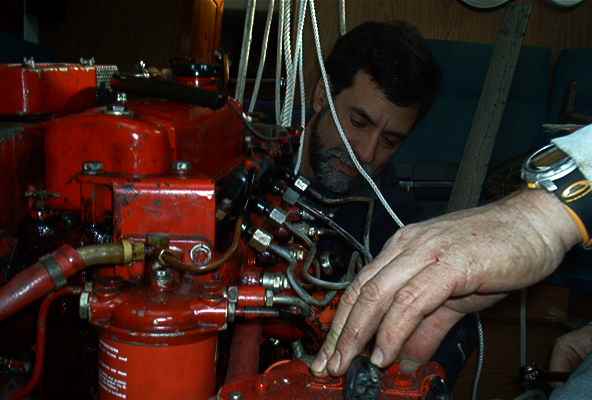
I disconnected everything, wires, plumbing, fuel lines, labeling as required. The prop shaft is inaccessible but Graham, my 14 year old, went into the port cockpit locker and unbolted the coupling.
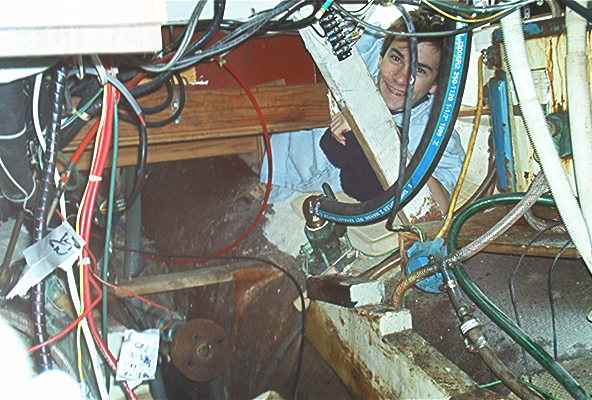
Graham down in the hole, after the engine came out.
We then slid a 2x10 under the engine and into the main cabin. A cross-brace that went into lockers port and starboard in the main cabin prevented the 2x10 from tilting up. A tackle on the engine pulley going to the main boom (with the main halyard counteracting this pull) provided some upward lift. Another went out the forward hatch, to the foredeck mooring cleats. We pulled on both tackles to lift and move the beast forward. The weight is unbelievable, but a few minutes of pulling started things moving.
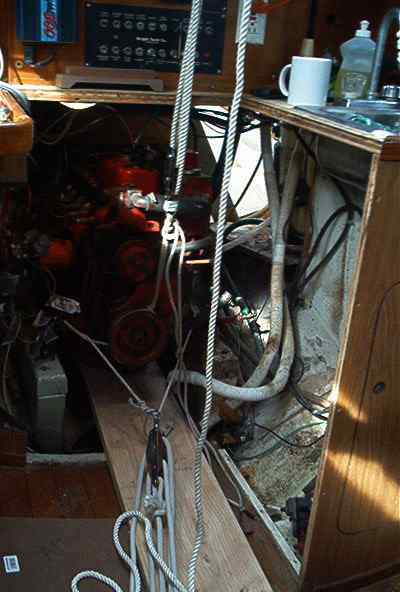
Tackles to the engine, 2x10 in place, ready to go.
As the engine started to move we moved one tackle forward, through the main hatch, to lift the thing even more.
We then added a third tackle to help lift the engine. Both went through the main hatch to the boom.
Scott, wondering how the hell we're ever gonna get this thing back in the hole.

Mission accomplished. Now to start rebuilding!
Engine in the main cabin. You can't see a box we built from a 2x10 under the forward end. The two front engine mounts rest on it to keep the engine up off the cabin sole, and to keep it from falling over.
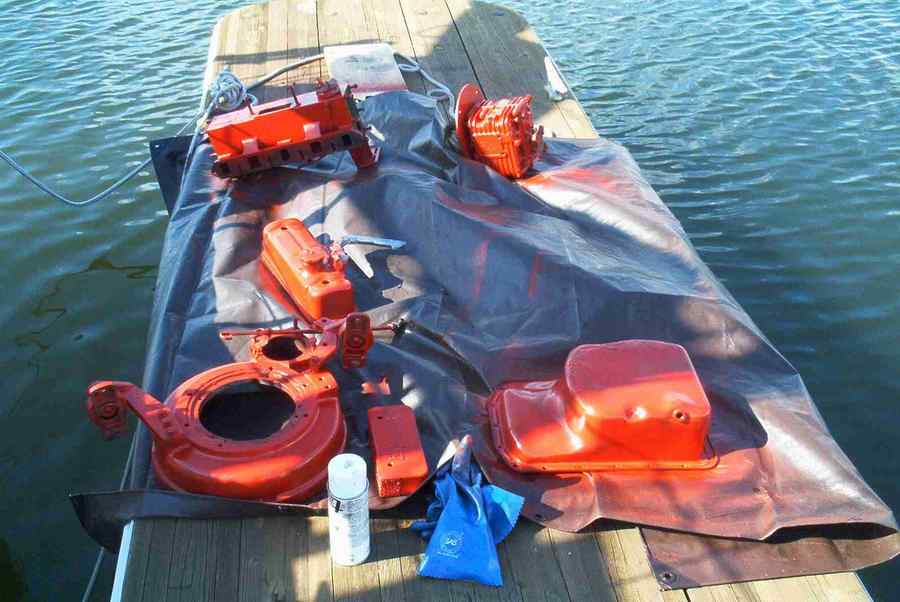
Parts being painted. Top row: manifold, transmission. Valve cover below. Along the bottom: bell housing, air strainer, and oil pan.
The engine was a greasy, rusty, mess. I removed most parts: starter (sent to be rebuilt), heat exchanger (ditto), manifold, oil pan, transmission, bell housing, etc, degreased them, and painted them, using Rustoleum primer and Westerbeke red paint. It took two cans of red, using 3-4 coats depending on how bad the part was..
We removed the transmission, flywheel, bell housing et al, and bolted on 2x4s as legs to life the thing up high. With all of the parts removed (head, trans, flywheel, etc) the block didn't weigh that much (maybe 300 pounds) and could be lifted without trouble. The long 2x4 legs made it easy to remove the oil pan. Turns out the pan was clean, almost no sediment. The oil filter in the bottom of the pan was likewise dead clean.
Engine on stilts made of 2x4s to get access to the oil pan. Trans, bell housing and flywheel are all off in this aft-end view. The red thing top center is that awful CAV secondary filter with the element removed. The oil pan is off; at the very bottom of the engine, below where the flywheel goes (on the 6 bolts) is the aft end of the oil pan oil-strainer. Note oil-aborbs under the engine to catch drips.
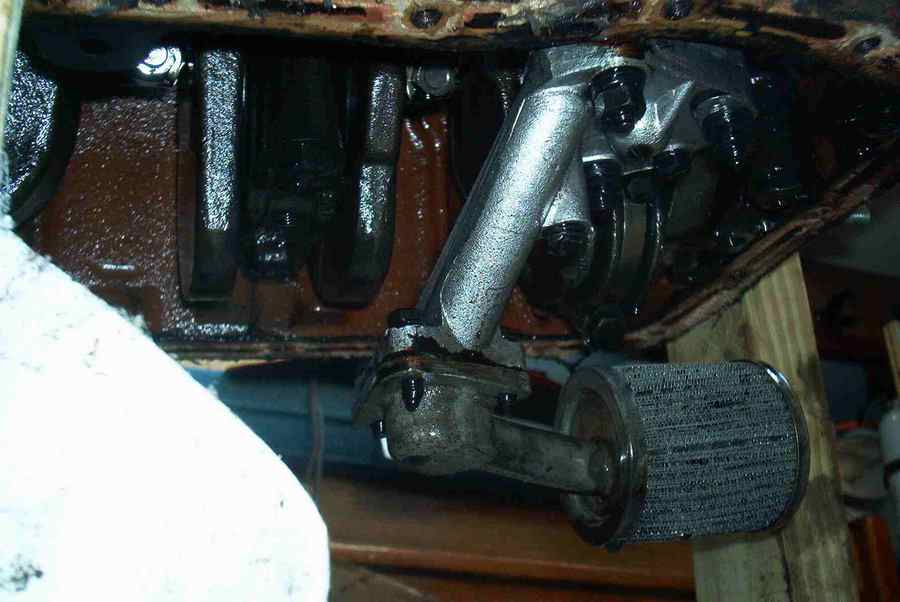
Crankshaft and oil strainer, looking up into the engine from underneath.
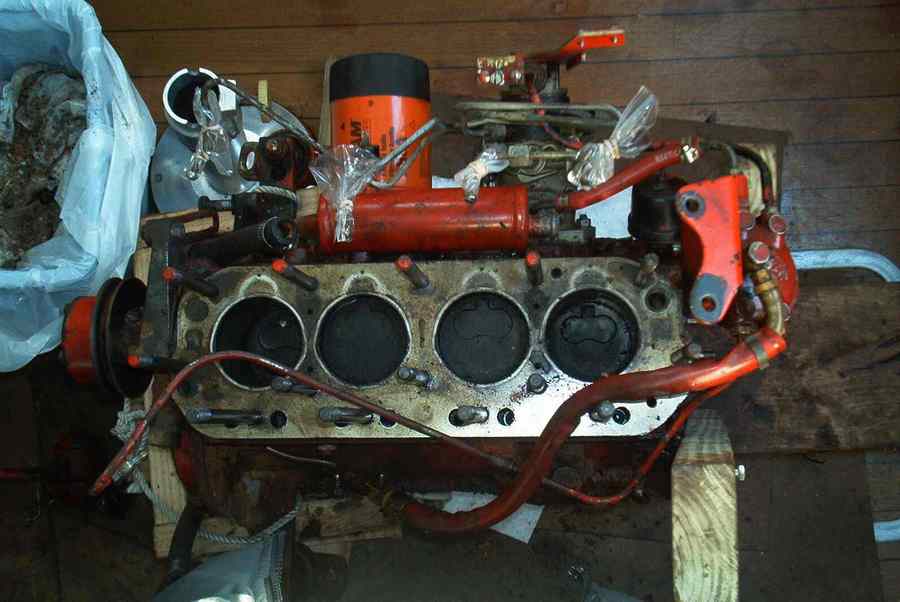
The head is off. It's REALLY important to keep the injector lines absolutely clean; note plastic bags rubber-banded over them.
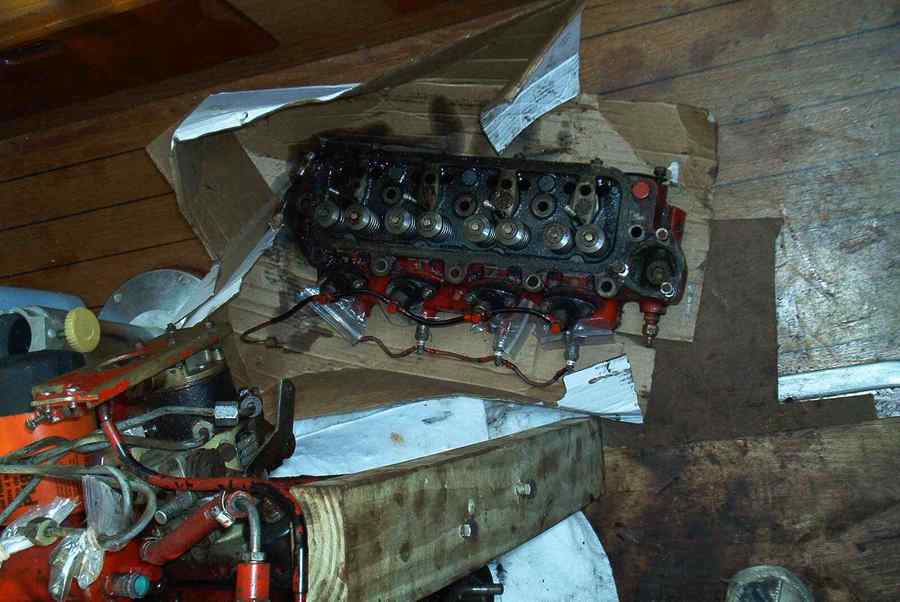
The head. It must weigh 75 pounds. Injector inlets covered in plastic bags. Glow plugs still in place - you can see the wires.
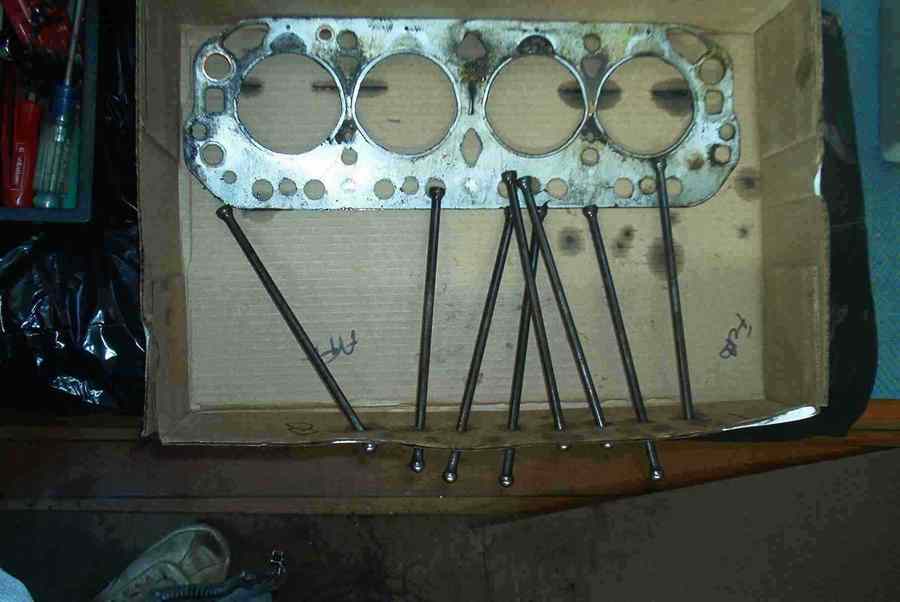
Pushrods and head gasket. Note the pushrods are stuck in cardboard so I know which one goes where when it comes time to reassemble things.
The engine's fine British engineering results in a situation that makes torquing the head bolts impossible without special tools no longer sold. The rocker arm bolts are part of the torque sequence... as are others underneath and blocked by the rockers. I bought a wrench from SnapOn Tools (www.snapon.com) for $49.50 (Cylinder Head Wrench, 11/16" p/n S8663B) that almost works - I had to grind the thing down to make it fit.

SnapOn tool for torquing the 3 head bolts under the rocker arms.
Torresen Marine claims Westerbeke no longer sells rebuild kits for the fuel lift pump. A new unit is $300. Voyager's mechanical fuel pump works fine, but I'd sure like to rebuild it. However, for a while I've been thinking about replacing it with an electric pump to make bleeding air from the fuel system easier. So this is my motivation to make the change. I made a metal plate to cover the engine block opening where the old pump went, and will mount the new electric pump near the primary filters.
I got a complete upper gasket set from Crinan Marine for $180 US. This includes a head gasket ($150 by itself from the pirates at Westerbeke), valve seals (8 at $25 each from Westerbeke), manifold gasket, etc. It's a great deal. These are the British Leyland parts, not Westerbeke, but fit fine. Mr. Westerbeke died in 2001 - I figured he was assassinated by angry parts customers. The folks at Crinan were an utter delight to work with. Ten days from order to the parts on my dock.
Contact info:
Crinan Marine
176 Railway Street
Kingston, ON Canada K7K2L9
1-613-634-8100
Torresen Marine provided the rest of the gaskets and paint
for about $100. Again, easy, nice folks. Check their web site at http://www.marinedieseldirect.com/westerbeke/
where you can get on-line pricing.
The starter has worked fine, but I sent it off to a rebuild at the local starter shop. Turns out it's sick, needing new bearings, new armature, throwout parts, complete new solenoid, etc. They rebuilt it for $209 (Best Battery, Baltimore, MD though I'd imagine any good starter shop could do this).
The heat exchanger, too, was fine but I sent it to a radiator shop to be tested and glass beaded. Cooling systems are insidious: as minerals precipitate out and coat the cooling tubes the engine runs hotter. For every 10 degree rise in temp, chemical reactions typically double, much accelerating the precipitation of more minerals. So, after 25 years it seemed wise to get it done. Cost: $50.